A basic vim setup on vscode
Jump below to see how I setup my vscode settings to optimize my vim settings.
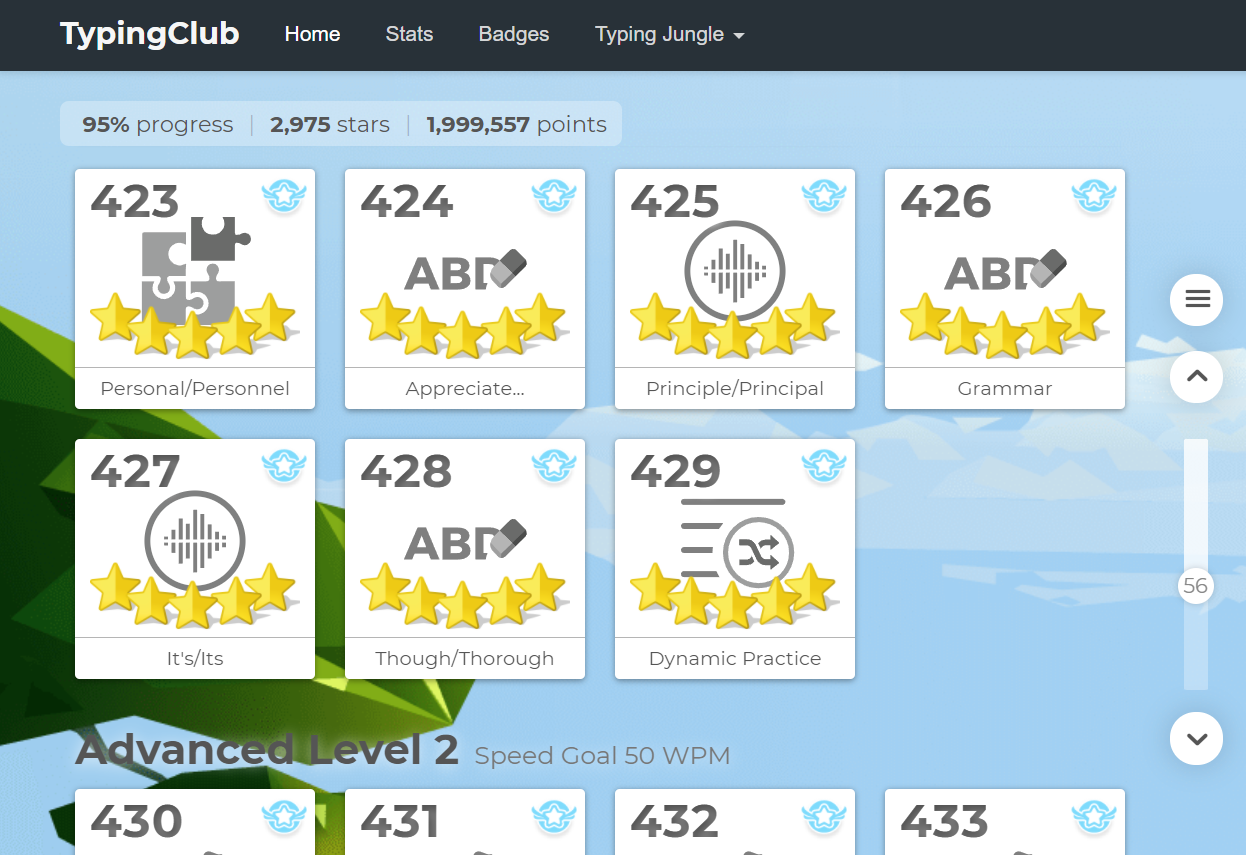
Vim has been a mainstay in my programming journey ever since I was introduced to it in my second semester of university. As I usually needed more time than my peers to come up with a solution, I felt that learning how to get my thoughts into code faster would help me to lessen the gap. So I first started by learning touch typing. Typing Club was a huge help in this regard.

I was able to nearly triple my typing speed from 35wpm (I was your average trex typist) all the way to 90wpm and it became more of an obsession to complete each lesson with a perfect score rather than dull practice. Learning vim has been a force multiplier on top of my typing speed as I am now able to navigate and edit my lines of code so much more efficiently. I’m don’t have every single shortcut memorised (I still mainly use h,j,k,l to move around) but it’s good enough for me to want to setup my VSCode settings properly to fully maximise the Vim extension.
The set up
Note: Install the Vim extension first
1. Set j,j to esc to exit insert mode (settings.json)
- This will allow you to escape without having to reach for the escape key.
-
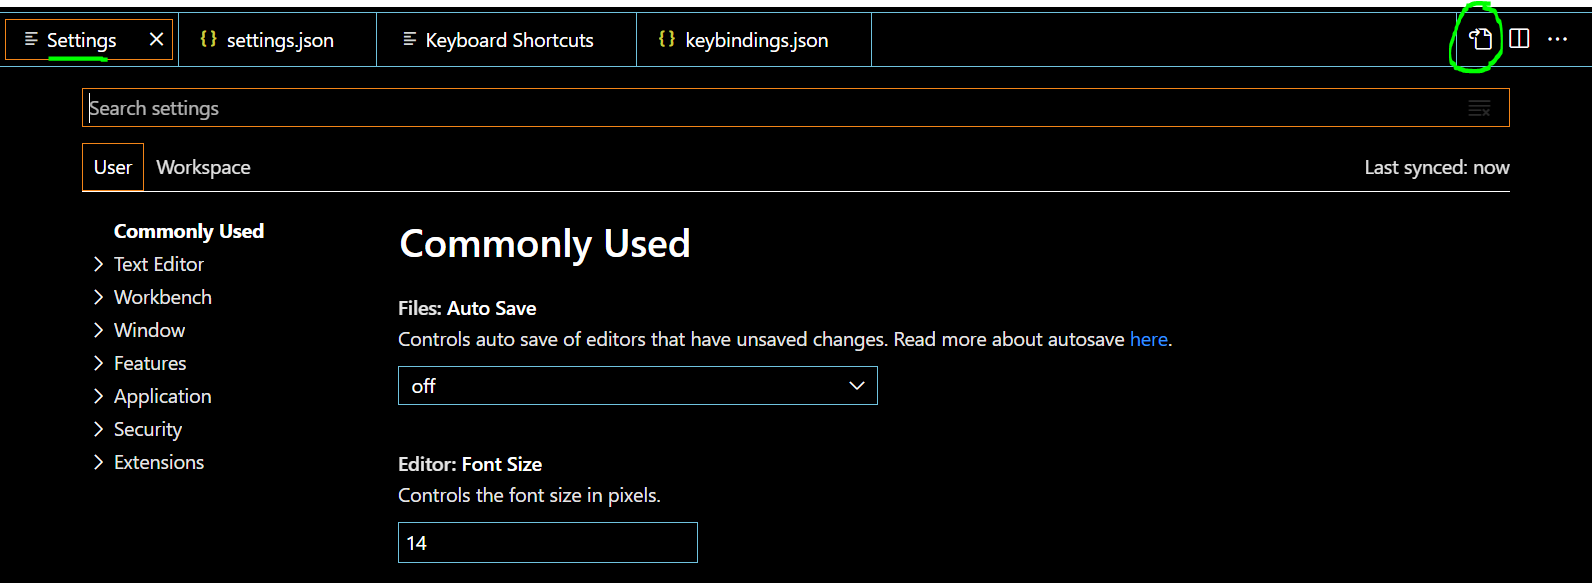
Naviagate to: File (top left) > Preferences > Settings > (top right, the page icon) Open Settings (JSON)
{
    // this is what you add!
    "vim.insertModeKeyBindings": [
        {
            "before": ["j", "j"],
            "after": ["<esc>"]
        }
    ],
}
2. Setup terminal navigation and easy indenting with Vim (keybindings.json)
- I oftentimes jump to the terminal to run code and even create new terminals. So I created my own way of navigating the terminal using the
ctrl + h,j,k,lto do this without touching a mouse.-
ctrl + j: toggle to the terminal. Allows you to immediately run your python scripts -
ctrl + h: create a new terminal window. So you can run multiple terminals -
ctrl + shift + h: kills the current terminal window. -
ctrl + l: jump to the next terminal. For navigation of multiple terminals
-
- Using vim, didnt allow me to quickly use tabs to indent my code. Found a workaround on Youtube to fix that.
-
Navigate to: File (top left) > Preferences > Keyboard Shortcuts > (top right, the page icon) Open Keyboard Shortcuts (JSON)
// Place your key bindings in this file to override the defaults
[
    // traveling around terminals
    {
        "key": "ctrl+j",
        "command": "workbench.action.terminal.toggleTerminal",
        "when": "terminal.active"
    },
    {
        "key": "ctrl+l",
        "command": "workbench.action.terminal.focusNext",
        "when": "terminalFocus"
    },
    {
        "key": "ctrl+h",
        "command": "workbench.action.terminal.new",
        "when": "terminalFocus"
    },
    {
        "key": "ctrl+shift+h",
        "command": "workbench.action.terminal.kill",
        "when": "terminalFocus"
    }

    // tabbing in code without having to use visual block in vim
    {
        "key": "tab",
        "command": "tab",
        "when": "editorTextFocus && !editorTabMovesFocus"
    },
    {
        "key": "shift+tab",
        "command": "outdent",
        "when": "editorTextFocus && !editorTabMovesFocus"
    },
]
3. (Optional) Settings sync
VSCode allows you to save your settings so that you don’t have to keep checking on this site ![]() . You’ll need to sign in with a Microsoft or Github account but once that’s done you should be able to automatically load these settings whenever you set up a new laptop. This guide was created just in case (I) you don’t want to sync using your accounts (usually because its your work laptop). Hope this helped you on your vim journey!. :wq
. You’ll need to sign in with a Microsoft or Github account but once that’s done you should be able to automatically load these settings whenever you set up a new laptop. This guide was created just in case (I) you don’t want to sync using your accounts (usually because its your work laptop). Hope this helped you on your vim journey!. :wq


